
The Ultimate Guide To Chic Diy Bathroom Upgrades For Luxury Living
Transform Your Bathroom With Beadboard Or Wainscoting
How To Paint Vanity Cabinets For A Fresh Look
Give your bathroom a fresh new look without breaking the bank by painting your vanity cabinets.
This article guides you through the step-by-step process of painting your vanity cabinets, from preparation to finishing touches. Learn how to remove doors and drawers, set up a painting station, choose the right primer, select paint colors and techniques, and reassemble your cabinets for a brand new look.
Enjoy your newly painted vanity cabinets and learn maintenance tips for longevity. Let’s get started!
Key Takeaways:

Introduction: Painting Vanity Cabinets for a Fresh Look
Transforming your bathroom vanity cabinets through painting can give them a fresh new look and enhance the overall appeal of your bathroom space.
In terms of revamping your bathroom, the vanity cabinets play a crucial role in setting the tone for the entire space. By opting to paint them, you have the opportunity to completely change the ambiance of your bathroom without a full renovation. The color choices you make can significantly impact the feel of the room, whether you prefer a calming spa-like atmosphere, a vibrant burst of energy, or a classic and timeless elegance. Painting your cabinets allows you to customize the look to match your personal style and preferences, creating a space that truly reflects your taste.
Step 1: Preparation
Proper preparation is crucial before painting bathroom vanity cabinets. This step involves removing doors and drawers, as well as setting up a dedicated painting station.
Removing Vanity Doors & Drawers
Before starting the painting project, it is essential to remove the vanity doors and drawers carefully to ensure thorough and even coverage of the cabinet surfaces.
Gather the necessary tools for the task, including a screwdriver or drill with appropriate bits to remove the hinges and drawer pulls. Make sure to place all removed hardware in a safe spot to avoid misplacement.
Then, open the doors and pull the drawers out fully to access the mounting screws. Use caution when handling the drawers to prevent any damage during removal.
Next, locate the screws or fasteners securing the doors to the cabinet frame. Unscrew these carefully, ensuring not to strip them in the process. Once all fasteners are removed, lift the doors off the hinges and set them aside in a safe area.
Setting Up a Painting Station
Creating a dedicated painting station for your bathroom vanity cabinets involves setting up a well-ventilated area with all the necessary tools and materials for a smooth painting process.
To begin, make sure your painting space is well-ventilated, ideally near a window or with a fan to circulate fresh air. Organize your tools within easy reach, such as brushes, sandpaper, paint trays, and cleaning supplies, to avoid interruptions during the painting process. Consider using a sturdy table for your painting setup, ensuring a flat and stable surface for your cabinet work. Arrange your paints systematically, grouping them by color or finish, to streamline your workflow and prevent confusion.
Step 2: Surface Preparation
Surface preparation is a critical step in ensuring a successful paint job for your bathroom vanity cabinets. This involves cleaning, sanding, and addressing any imperfections on the surfaces.
Cleaning, Filling, and Sanding
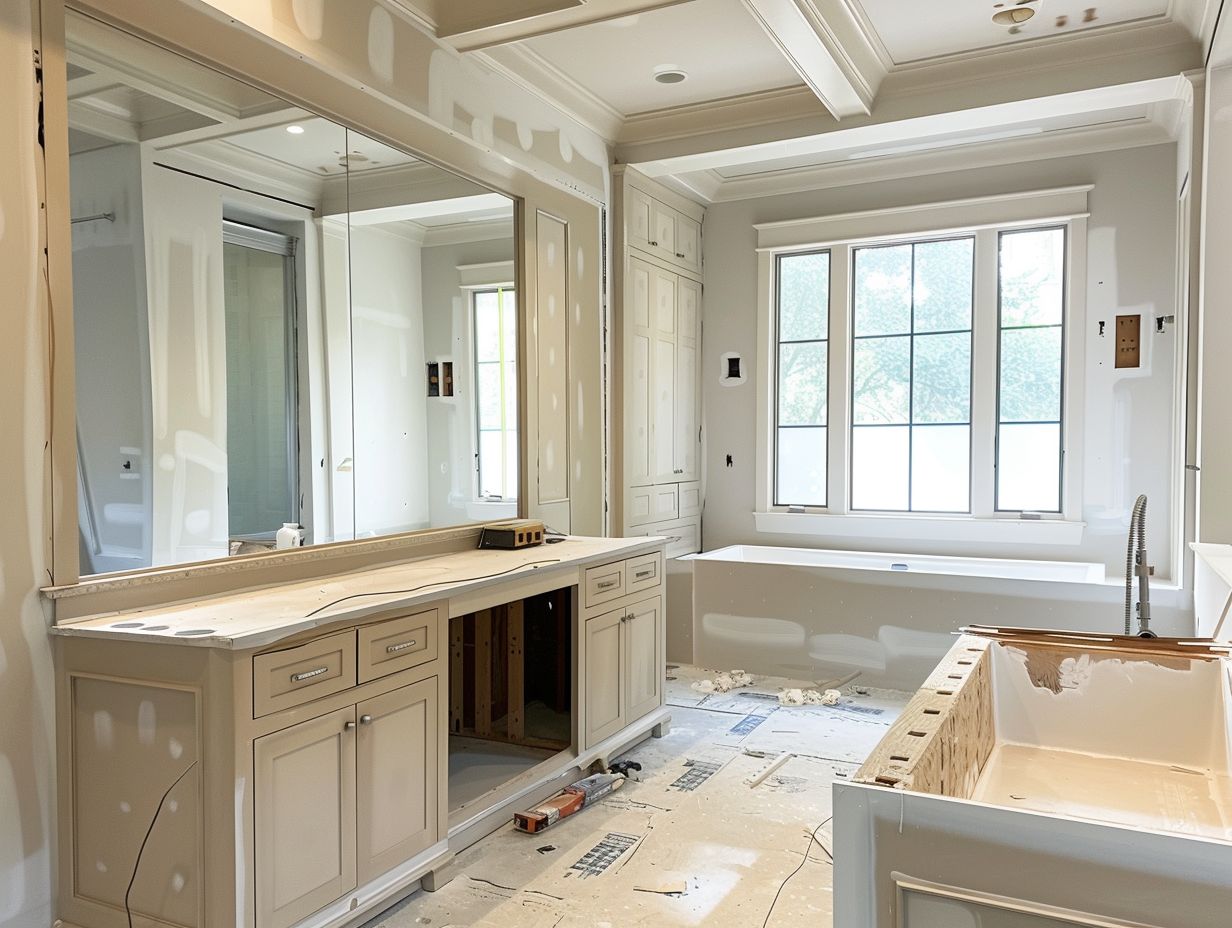
To achieve a smooth and flawless finish, start by thoroughly cleaning the cabinet surfaces, filling any holes or scratches with wood filler, and sanding the surfaces to create a suitable base for painting.
After filling any imperfections, it’s crucial to ensure that the wood filler is completely dry before proceeding to the next step. Sanding the cabinet surfaces is a vital part of the preparation process, as it helps in smoothing out any rough areas and provides adhesion for the paint. Use a medium-grit sandpaper initially to remove any old finish or rough spots, then switch to a finer grit for a smoother texture. Take care to sand along the grain of the wood for an even result.
Step 3: Applying Primer
The application of primer is a crucial step to ensure proper adhesion and a smooth finish when painting your bathroom vanity cabinets. Choosing and applying the right bonding primer is key.
Choosing and Applying Bonding Primer
Selecting the appropriate bonding primer for your bathroom vanity cabinets is essential to enhance adhesion, promote a durable finish, and ensure the longevity of the paint job.
When choosing a bonding primer, consider the surface material of your vanity cabinets – whether they are wood, laminate, or already painted. Different primers are formulated to adhere better to specific surfaces, so matching the primer to your cabinet material is crucial.
Prioritize primers that offer good adhesion qualities, ensuring that the paint will stick firmly to the surface without peeling or chipping. Look for products that mention strong bonding capabilities with various materials.
- Opt for bonding primers that are designed to bond with slick or glossy surfaces, common in bathroom environments.
- Check the product labels for compatibility with both water-based and oil-based paints, depending on your preference.
Furthermore, apply the bonding primer following the manufacturer’s instructions. It’s typically recommended to sand the cabinets lightly before priming to ensure better adhesion. Use a high-quality brush or roller for a smooth application, covering the surface evenly.
Step 4: Painting
Selecting the right paint color and application techniques is crucial for achieving the desired look for your newly painted bathroom vanity cabinets.
Selecting Paint Color and Techniques
Choosing the perfect paint color and determining the desired finish and sheen for your bathroom vanity cabinets can significantly impact the overall aesthetic and style of the space.
When deciding on a paint color, consider the existing color scheme of your bathroom to ensure harmony. Lighter shades can make a smaller space feel larger, while darker tones add a sense of luxury.
For the finish, a semi-gloss or satin finish is ideal for bathroom cabinets as they are easy to clean and have a subtle sheen that adds a touch of elegance. Applying a top coat is essential to protect the finish from moisture and daily wear, extending the life of your cabinets.
Step 5: Finishing Touches
Applying finishing touches to your painted bathroom vanity cabinets involves lightly sanding the surfaces and applying additional coats for a flawless and durable finish.
Lightly Sanding and Applying Additional Coats
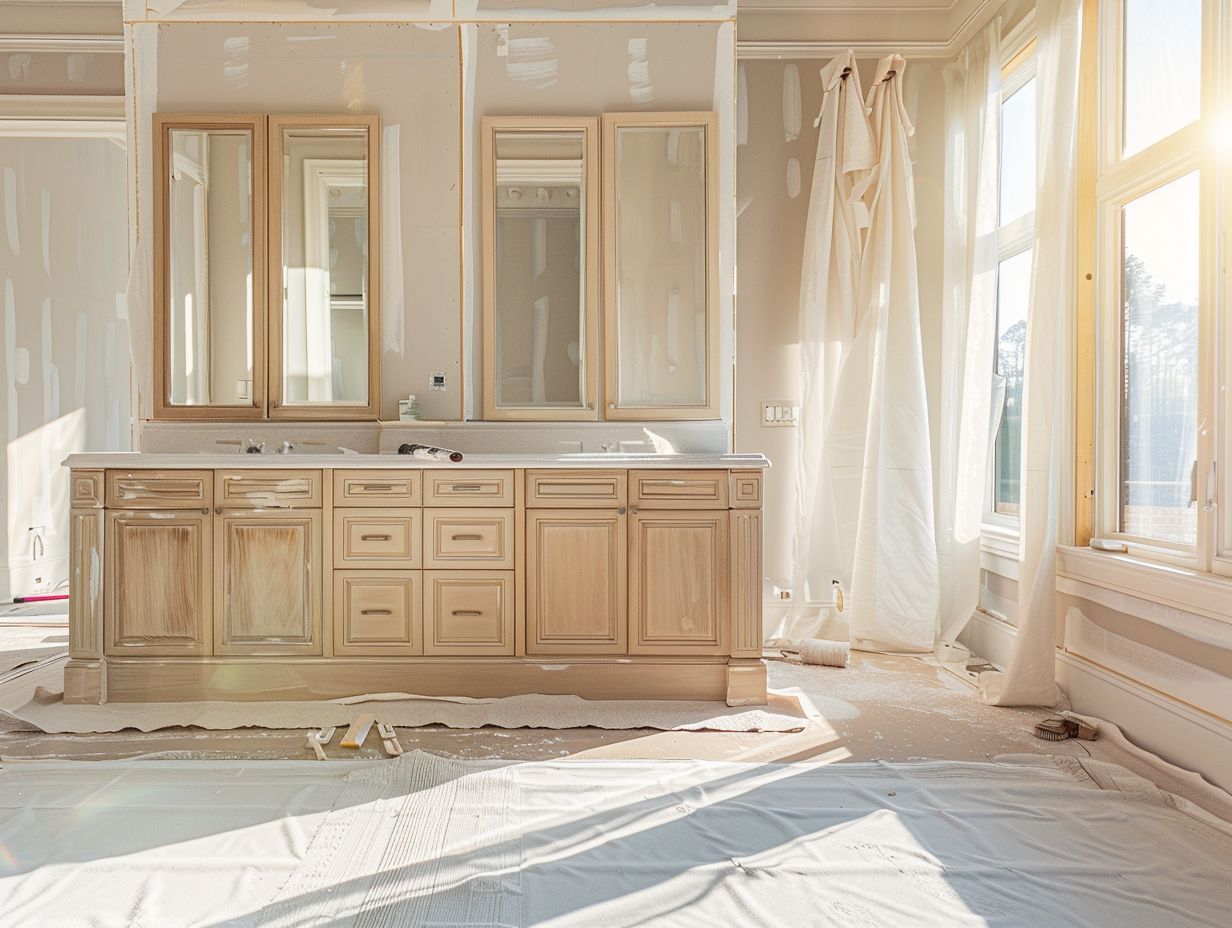
Achieving a professional and durable finish on your bathroom vanity cabinets involves lightly sanding between coats and applying additional layers to enhance the gloss and overall finish quality.
The importance of sanding and adding extra coats cannot be overstated when it comes to achieving a high-quality finish. Sanding helps create a smooth surface by removing imperfections and rough patches, allowing the subsequent coats to adhere better. Sanding between coats promotes proper adhesion and reduces the risk of paint peeling or chipping over time.
When applying additional layers, each coat adds depth and richness to the color, enhancing the overall appearance and durability of the cabinets. More coats of finish provide better protection against moisture, wear, and scratches, ensuring a longer lifespan for your vanity.
Step 6: Reassembling
Once the paint has dried, reassembling the cabinet doors and drawers is the final step to complete your bathroom vanity cabinet painting project.
Reinstalling Cabinet Doors & Drawers
Reinstalling the cabinet doors and drawers of your bathroom vanity is a crucial step in completing the painting project and reviving the overall look of the vanity.
Start by collecting all the necessary hardware such as screws, hinges, and knobs. Lay out the doors and drawers in a well-lit area so you can easily access them.
Next, inspect each piece for any damage and make any necessary repairs before proceeding. Utilize a screwdriver or drill to attach the hinges back onto the doors ensuring they are sturdy.
Ensure the alignment of the doors and drawers is symmetrical by adjusting the hinges as needed. Attach the knobs or handles securely to complete the reinstall with finesse.
Conclusion: Enjoying Your Newly Painted Vanity Cabinets
Completing the painting process for your bathroom vanity cabinets is a rewarding project that can breathe new life into your space. Follow maintenance tips for longevity and enjoy your refreshed cabinets.
After painting your bathroom vanity cabinets, you will notice an instant and significant transformation in the overall look and feel of your bathroom. The fresh coat of paint can brighten up the room, mask imperfections, and create a cohesive interior style.
To ensure that your cabinets maintain their new appearance for years to come, it is essential to regularly clean and dust them. Use a gentle cleanser and avoid harsh chemicals to preserve the paint finish. Consider periodic touch-ups to address any minor chips or scratches that may occur over time.
Maintenance Tips for Longevity
To ensure the longevity of your newly painted bathroom vanity cabinets, follow a maintenance routine that includes regular cleaning, inspection, and touch-ups as needed.
Preparation for maintaining the quality and appearance of your cabinets starts with keeping a gentle cleaning solution – such as mild soap and water – handy for regular wipe-downs. Inspecting the cabinets regularly for any signs of wear, chipping, or fading is crucial to catch issues early on.
In terms of touch-ups, having the original paint color or a matching touch-up kit can be handy for covering minor scratches or imperfections. Earmark a specific day each month to dedicate time for these maintenance tasks to stay on top of potential issues before they worsen.
Frequently Asked Questions
What supplies do I need to paint vanity cabinets for a fresh look?
To paint vanity cabinets for a fresh look, you will need primer, paint, paintbrushes or a paint sprayer, sandpaper, screwdriver, drop cloths, and painter’s tape.
Do I need to remove the vanity cabinets from the wall before painting?
It is best to remove the vanity cabinets from the wall before painting for easier access and a more thorough job. However, if this is not possible, you can paint them while they are still attached to the wall.
How do I prepare the vanity cabinets for painting?
First, remove all hardware and doors from the cabinets. Then, sand down any rough spots or imperfections on the surface. Wipe down the cabinets with a damp cloth to remove any dust or debris. Finally, use painter’s tape to protect the surrounding areas.
What type of paint should I use for vanity cabinets?
For a professional and long-lasting finish, it is recommended to use a high-quality semi-gloss or satin paint. These types of paint are durable and easy to clean, making them ideal for bathroom vanity cabinets.
Can I change the color of my vanity cabinets without completely repainting them?
Yes, you can change the color of your vanity cabinets without completely repainting them by using a furniture paint or a gel stain. These products can be applied directly over the existing paint without the need for primer or sanding.
How long will it take to paint vanity cabinets for a fresh look?
The time it takes to paint vanity cabinets for a fresh look will depend on the size and condition of the cabinets, as well as your skill level. It can take anywhere from 1-2 days to complete the project, including drying time between coats.

